When we think Easter, we think bunnies and eggs. How the two add up, we’re not quite sure, but that’s never stopped us from embracing all of the festive food ushered in by spring’s spirit of renewal.
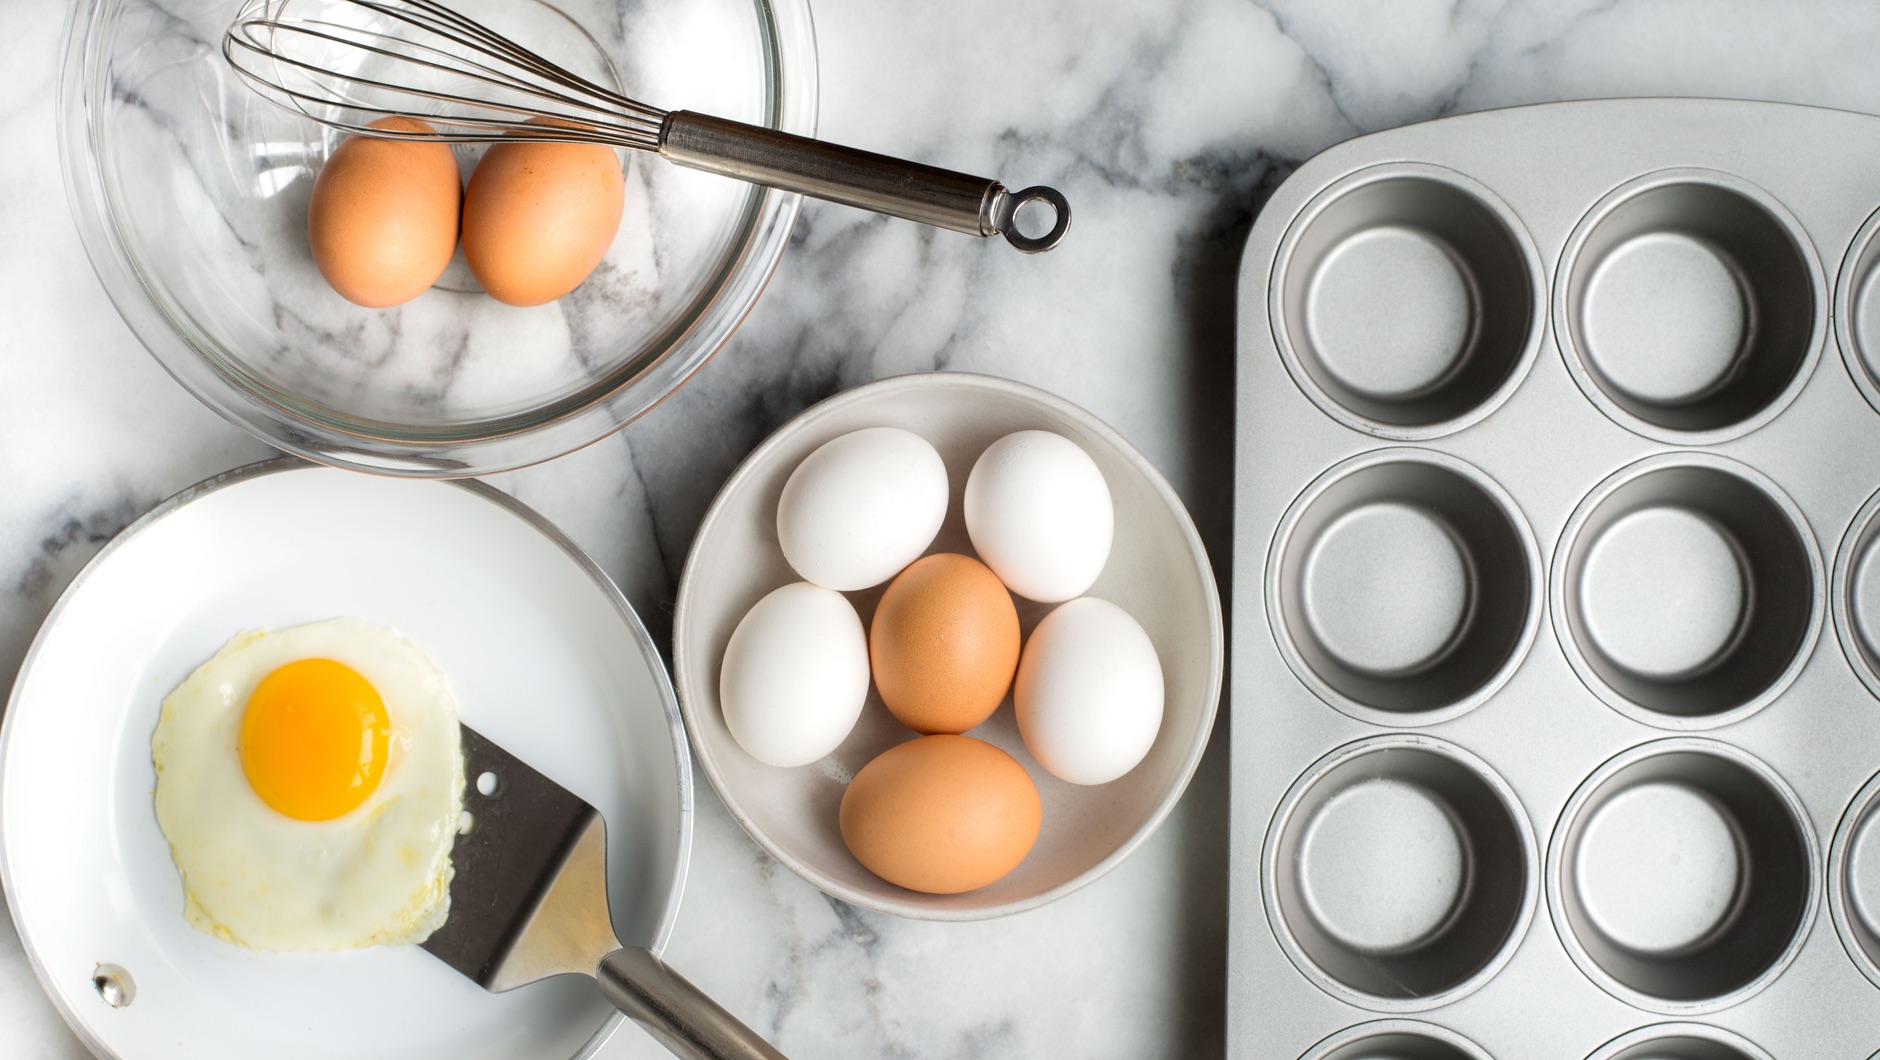
Eggs are one of the most versatile ingredients in the kitchen. From brunch to dinner, they can be cooked in numerous ways and adapted for any season. But one of our favorite ways to use them is to hard boil and dye them. Use these tips for making the perfect boiled egg and creating all-natural dyes to color them with at home.
What You’ll Need
- 1 cup purple cabbage, shredded
- 1 cup skins of yellow onion
- 1 cup of beets, grated
- 4 bags hibiscus tea
- 1 tablespoon turmeric
- 1 cup blueberries
- Water
- 12 eggs
- 6 mason jars
- 6 small bowls
- White vinegar
- Strainer
- Glass liquid measuring cup
- Large pot
- Medium-sized pot
- Baking rack
- Kitchen towel
How to Boil the Eggs
- Arrange 12 eggs all in one layer at the bottom of a large pot.
- Add cold water to cover eggs.
- Bring water to a boil over high heat.
- Remove from heat and let rest for 12 minutes covered.
- Remove eggs, dry off, and refrigerate.
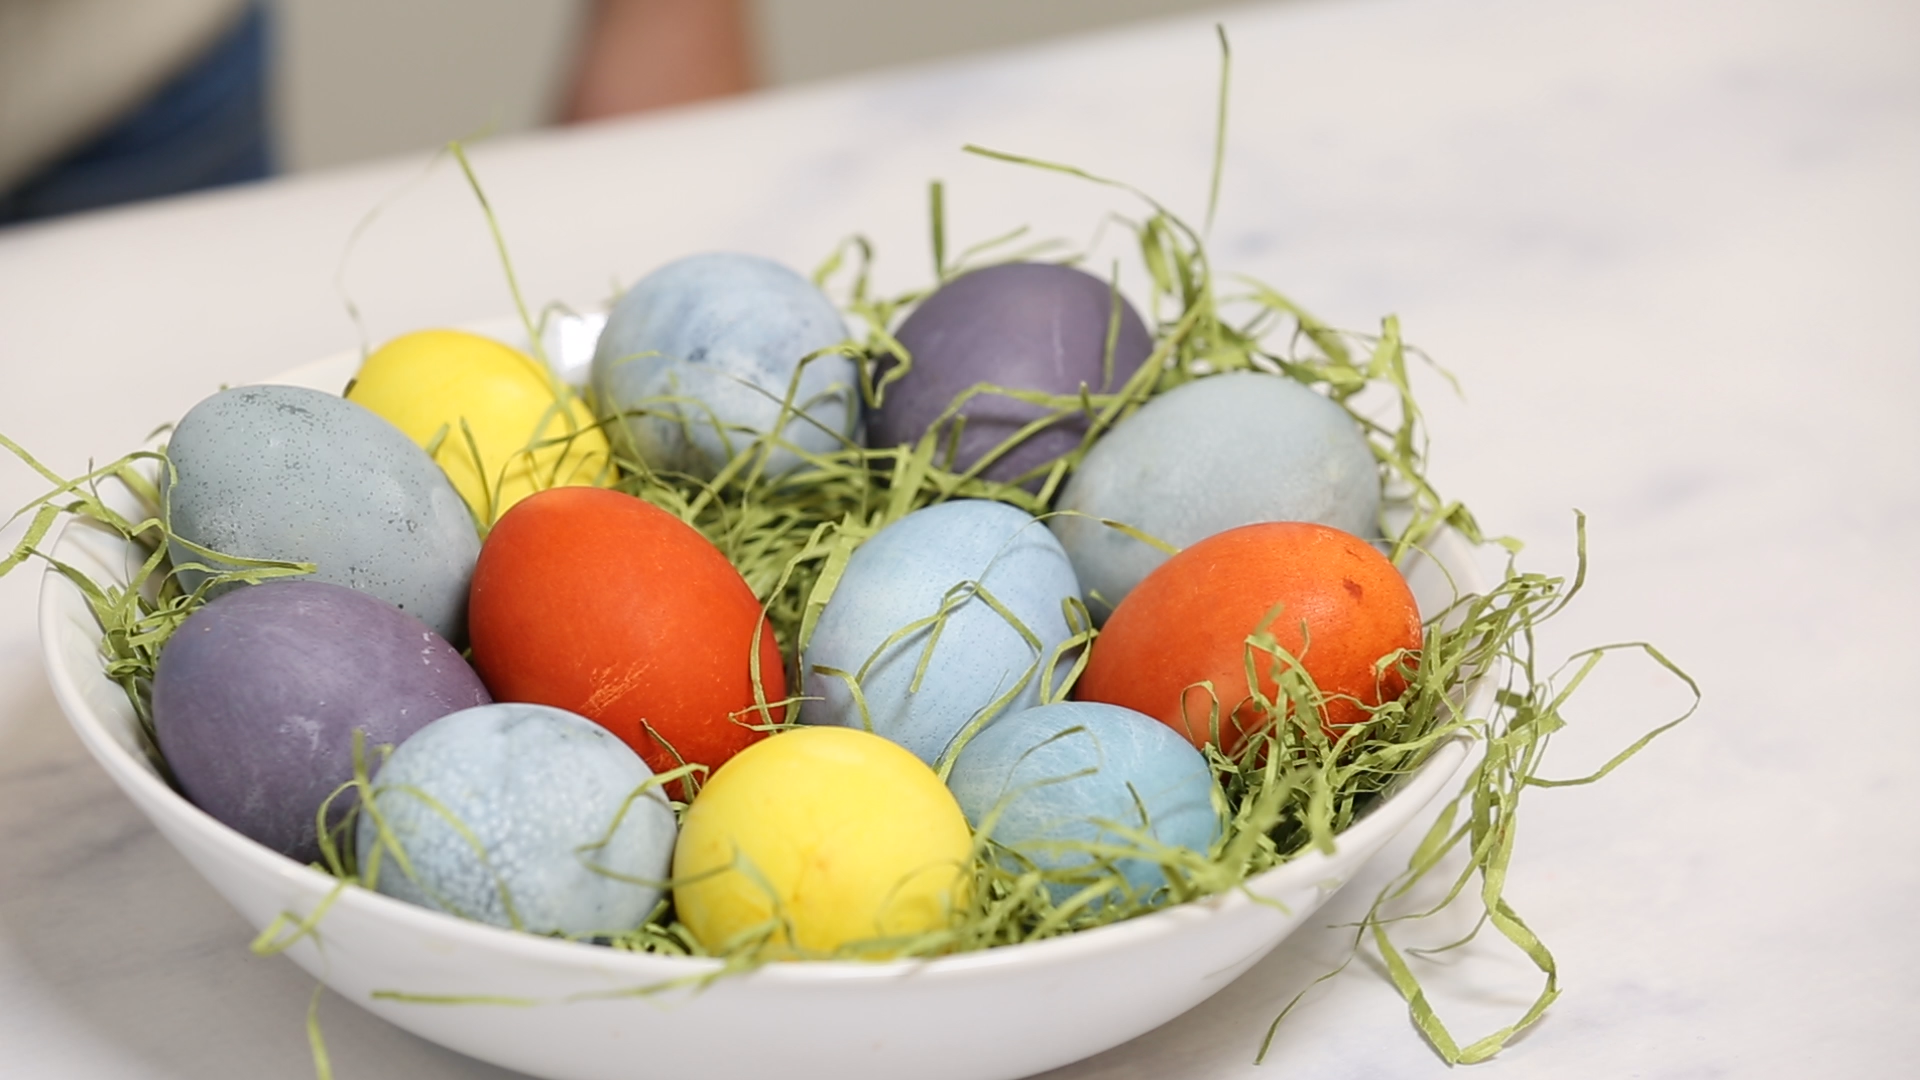
How to Prep the Dyes
- Place purple cabbage in a medium-sized pot.
- Add 1 cup of water.
- Bring water to a boil over high heat.
- Cover with lid and reduce heat to low. Simmer for 15 minutes, or longer for stronger color (up to 1 hour).
- Strain mixture into glass measuring cup then pour into a mason jar.
- Cool mixture completely before dyeing the eggs.
- Repeat steps above for each colorant (turmeric for yellow, onion skins for brown, etc.). Use 1 cup of water each time to create the dye.
How to Dye the Eggs
- Add 1 tablespoon of white vinegar to each mason jar with dye mixture.
- Place two hard-boiled eggs in each small bowl.
- Pour the dye over the eggs in each bowl until covered.
- Refrigerate for two to 12 hours (longer for darker colors).
- Remove eggs from dye bowls and place on baking rack to dry.
- Serve dyed eggs in a decorative bowl or basket and enjoy!
Expert Tips
- To keep colors rich and unique, use separate, medium-sized pots for creating each dye color. If you use one pot, make sure to wash it thoroughly between each batch.
- To create patterns as you decorate, try wrapping your eggs in string or rubber bands before dying. Make sure you let the eggs dry completely before you remove the string.
- To create an edible “nest” for serving, place the dyed eggs in a bowl of parsley or mixed lettuce.
Easter dinner, done.
- Menu-planning for your Easter celebrations is complete, compliments of What’s for Dinner? and T. Marzetti. Get the menu here.